
If you’ve read our Golden Rules of Extreme Bike Photography, you may have noticed rule number four: use your flash correctly. In this, we walked you through the basics, for example, making sure your flash doesn’t go off in a rider’s face as he or she launches into the air, causing a wipe-out and maybe even a lawsuit. But this is just one of the many golden rules (or maybe just common sense) and using your flash correctly is actually a bit more complex. Here are some tips for using flash on your next bike shoot.
7. Use a short flash duration
One of the main things any action sport photographer looks for in lighting is the flash’s ability to freeze action. So the shorter the flash duration the easier it is for you to stop motion in place for a split second. This technique is great for overpowering ambient light for a clean and crisp image of the action.
6. Experiment with shutter drag or slow-sync setting
A shutter drag or slow-sync setting will use the flash to freeze the subject with a slowed shutter speed to capture ambient light. This will also cause the image to blur to help convey movement and can be used with an on or off-camera flash. To do this, simply set your camera to aperture priority and set the flash sync mode to slow.
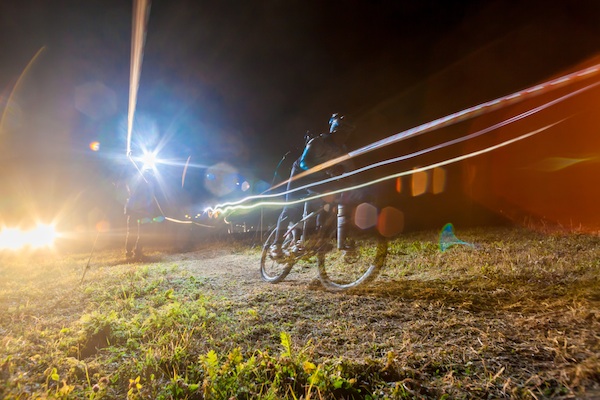
5. Pan with your subject during exposure 
Combined with a slow-sync flash, pan along with your subject as he or she moves. This will help you capture interesting effects with blurred backgrounds while the main subject will be in focus and frozen by the flash.
4. Try zooming during exposure
Zooming your lens in and out during your exposure will also create interesting blurred backgrounds. Similar to a panning technique, the flash will keep your subject in focus while you can convey movement but from a different direction.
3. Keep track of the rider’s gear
While a BMX biker may be riding with no helmet or pads, a downhill biker may be wearing a helmet with a visor; if your flash is set too high it will create a shadow over his or her face. Although high flash settings may look great on the back of the camera—don’t do it. You can always brighten it up on the computer afterward.
2. Have your flash positioned correctly
Oftentimes, the sun itself can serve as a second flash that is extremely powerful and completely free. The first thing to do is figure out where the sun is and position your flash on the opposite side of the rider so he or she is sandwiched between the light. Since this will take quite a bit of power to add extra fill light on the rider, make sure you get your flash as close as possible.
Later in the day when the sun is less strong, you can also try positioning yourself on the other side of or behind the rider. For each technique, the sun will create a nice rim light around the subject and your flash will expose the rider so he or she is not a silhouette.
All images via Colourbox.com