
By now probably everyone has either read the Hunger Games books or watched the movies, since the story of Katniss Everdeen is both captivating and inspiring. When we decided to start this project, our intention was to create something completely independent of the movies. Our artwork should tell it’s own story that still fits into the dystopian world of Hunger Games.
 I started working on concepts for this project about six months ago. Immediately it became apparent that letting it become an exclusively photographic project would leave me having to pick between “doing extensive location scouting” and “compositing from stock images.” The first option filled me with unease, as I had spent so much time location scouting for recent projects, often failing to find exactly what I needed. The second choice, stock images, isn’t really an option for me either. I think everyone has their own threshold of “how much of other people’s work can I include in my image and still call it my own.” In order to build a deeper connection to the story I’m building, it’s essential for me to create as many of the image elements as possible on my own.
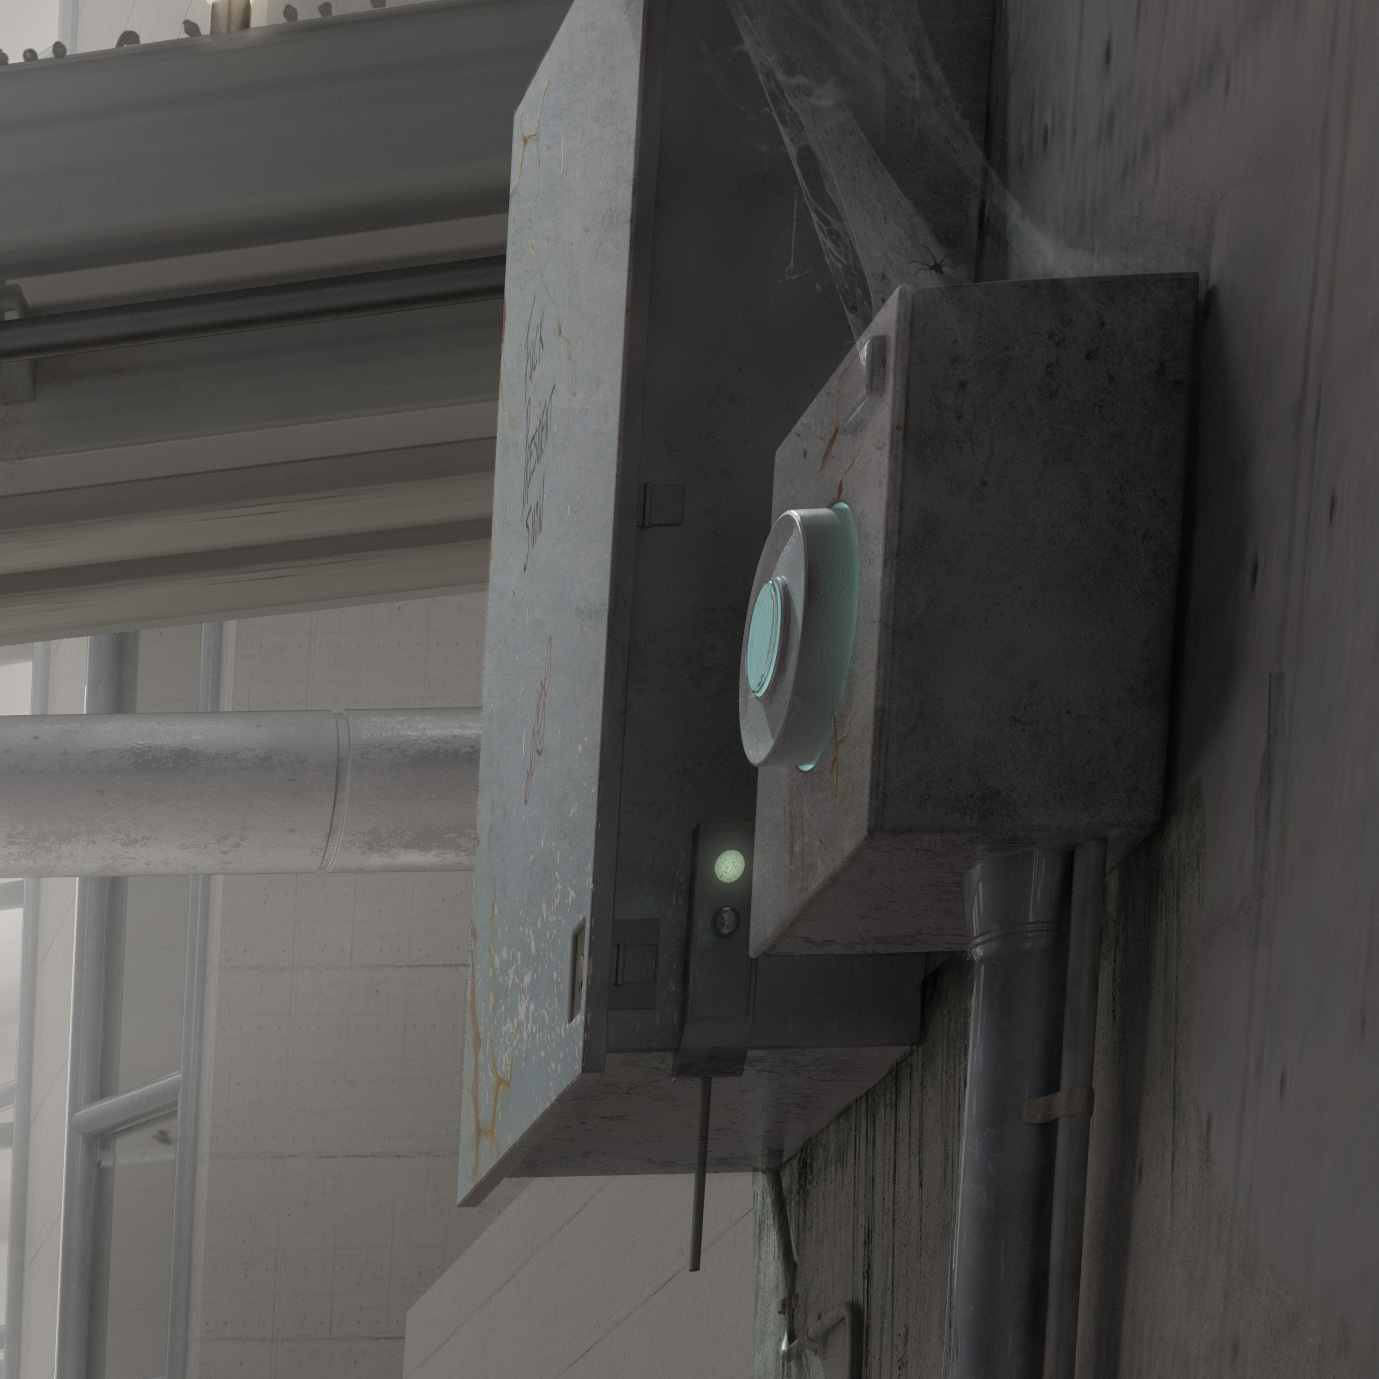
I got into 3D software about a year ago and so the decision to go for a rendered background was an obvious one. My background as a conceptual photographer really defines the way I build a 3D scene. From the first minute I start blocking out the scene, I’m concerned with composition, lighting and separation. What’s the center of attention and how can create contrast, that draws the viewers eyes towards it? How can I create leading lines to that center and how can I keep the viewers eyes there by a motivated vignette? I say motivated because I’m not simply darkening the edges of the frame, but I think about how can I construct the scene so that the border regions are in shadow. This also means, I have no fixed workflow like “model – texture – light – render.” It’s all a back and forth where one change triggers another, and so the image grows and I grow with it.
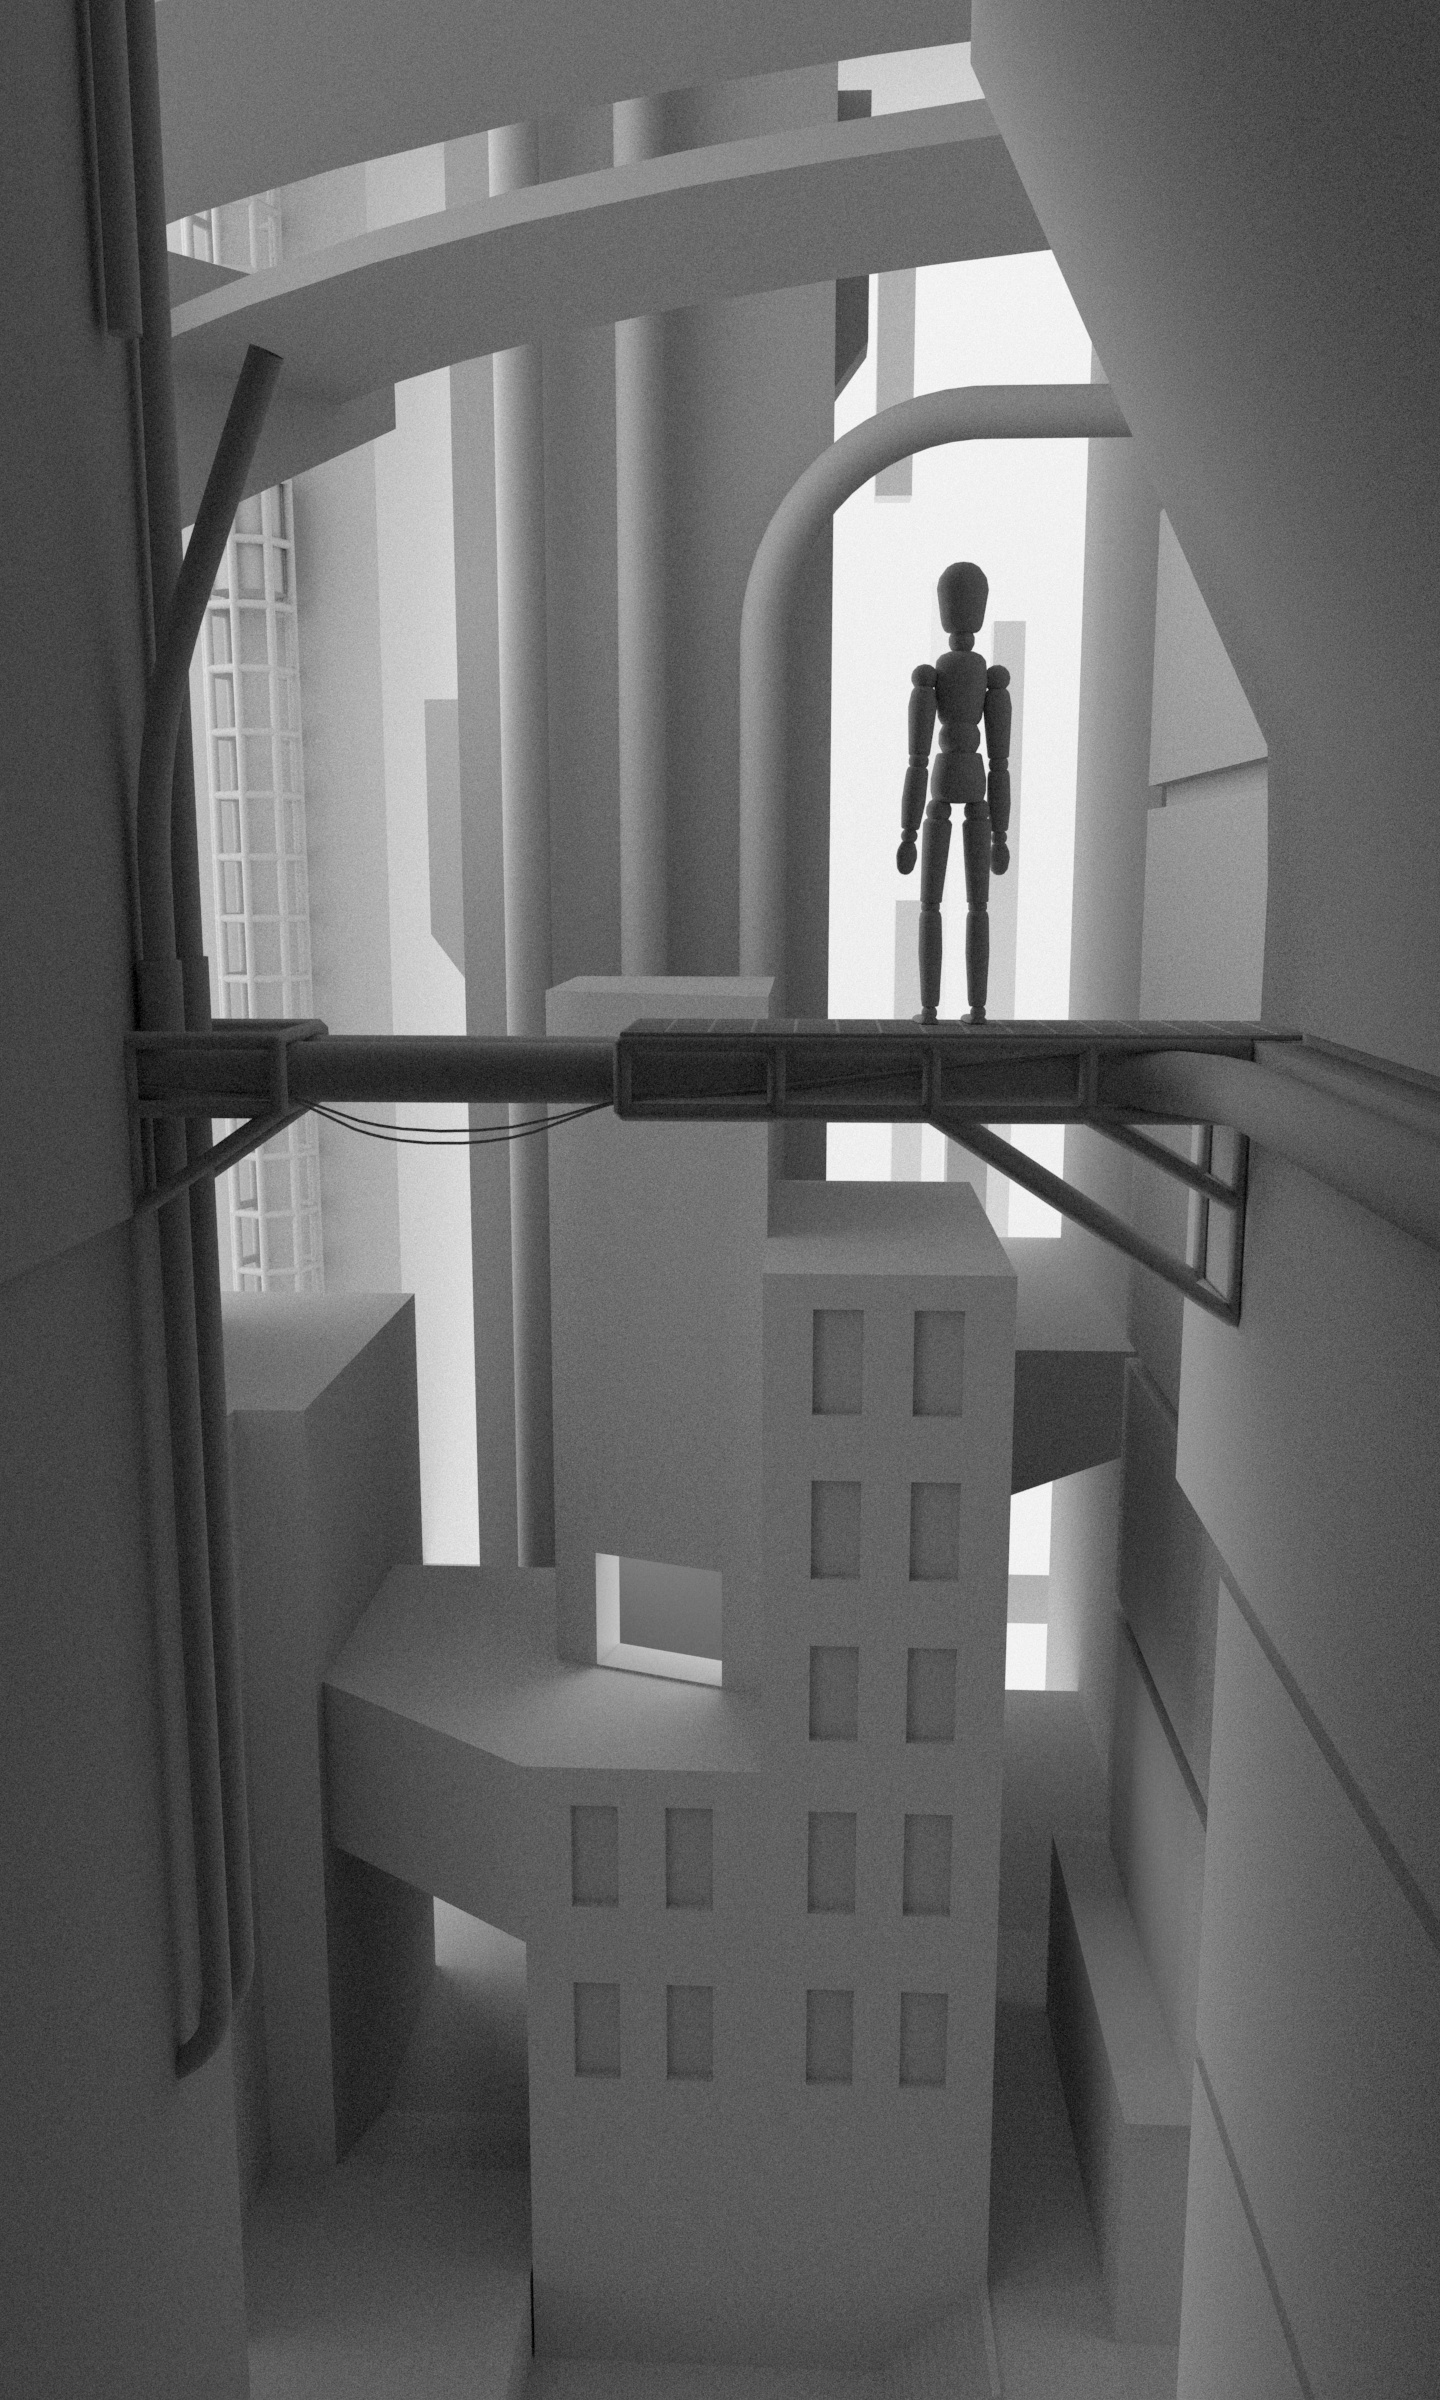
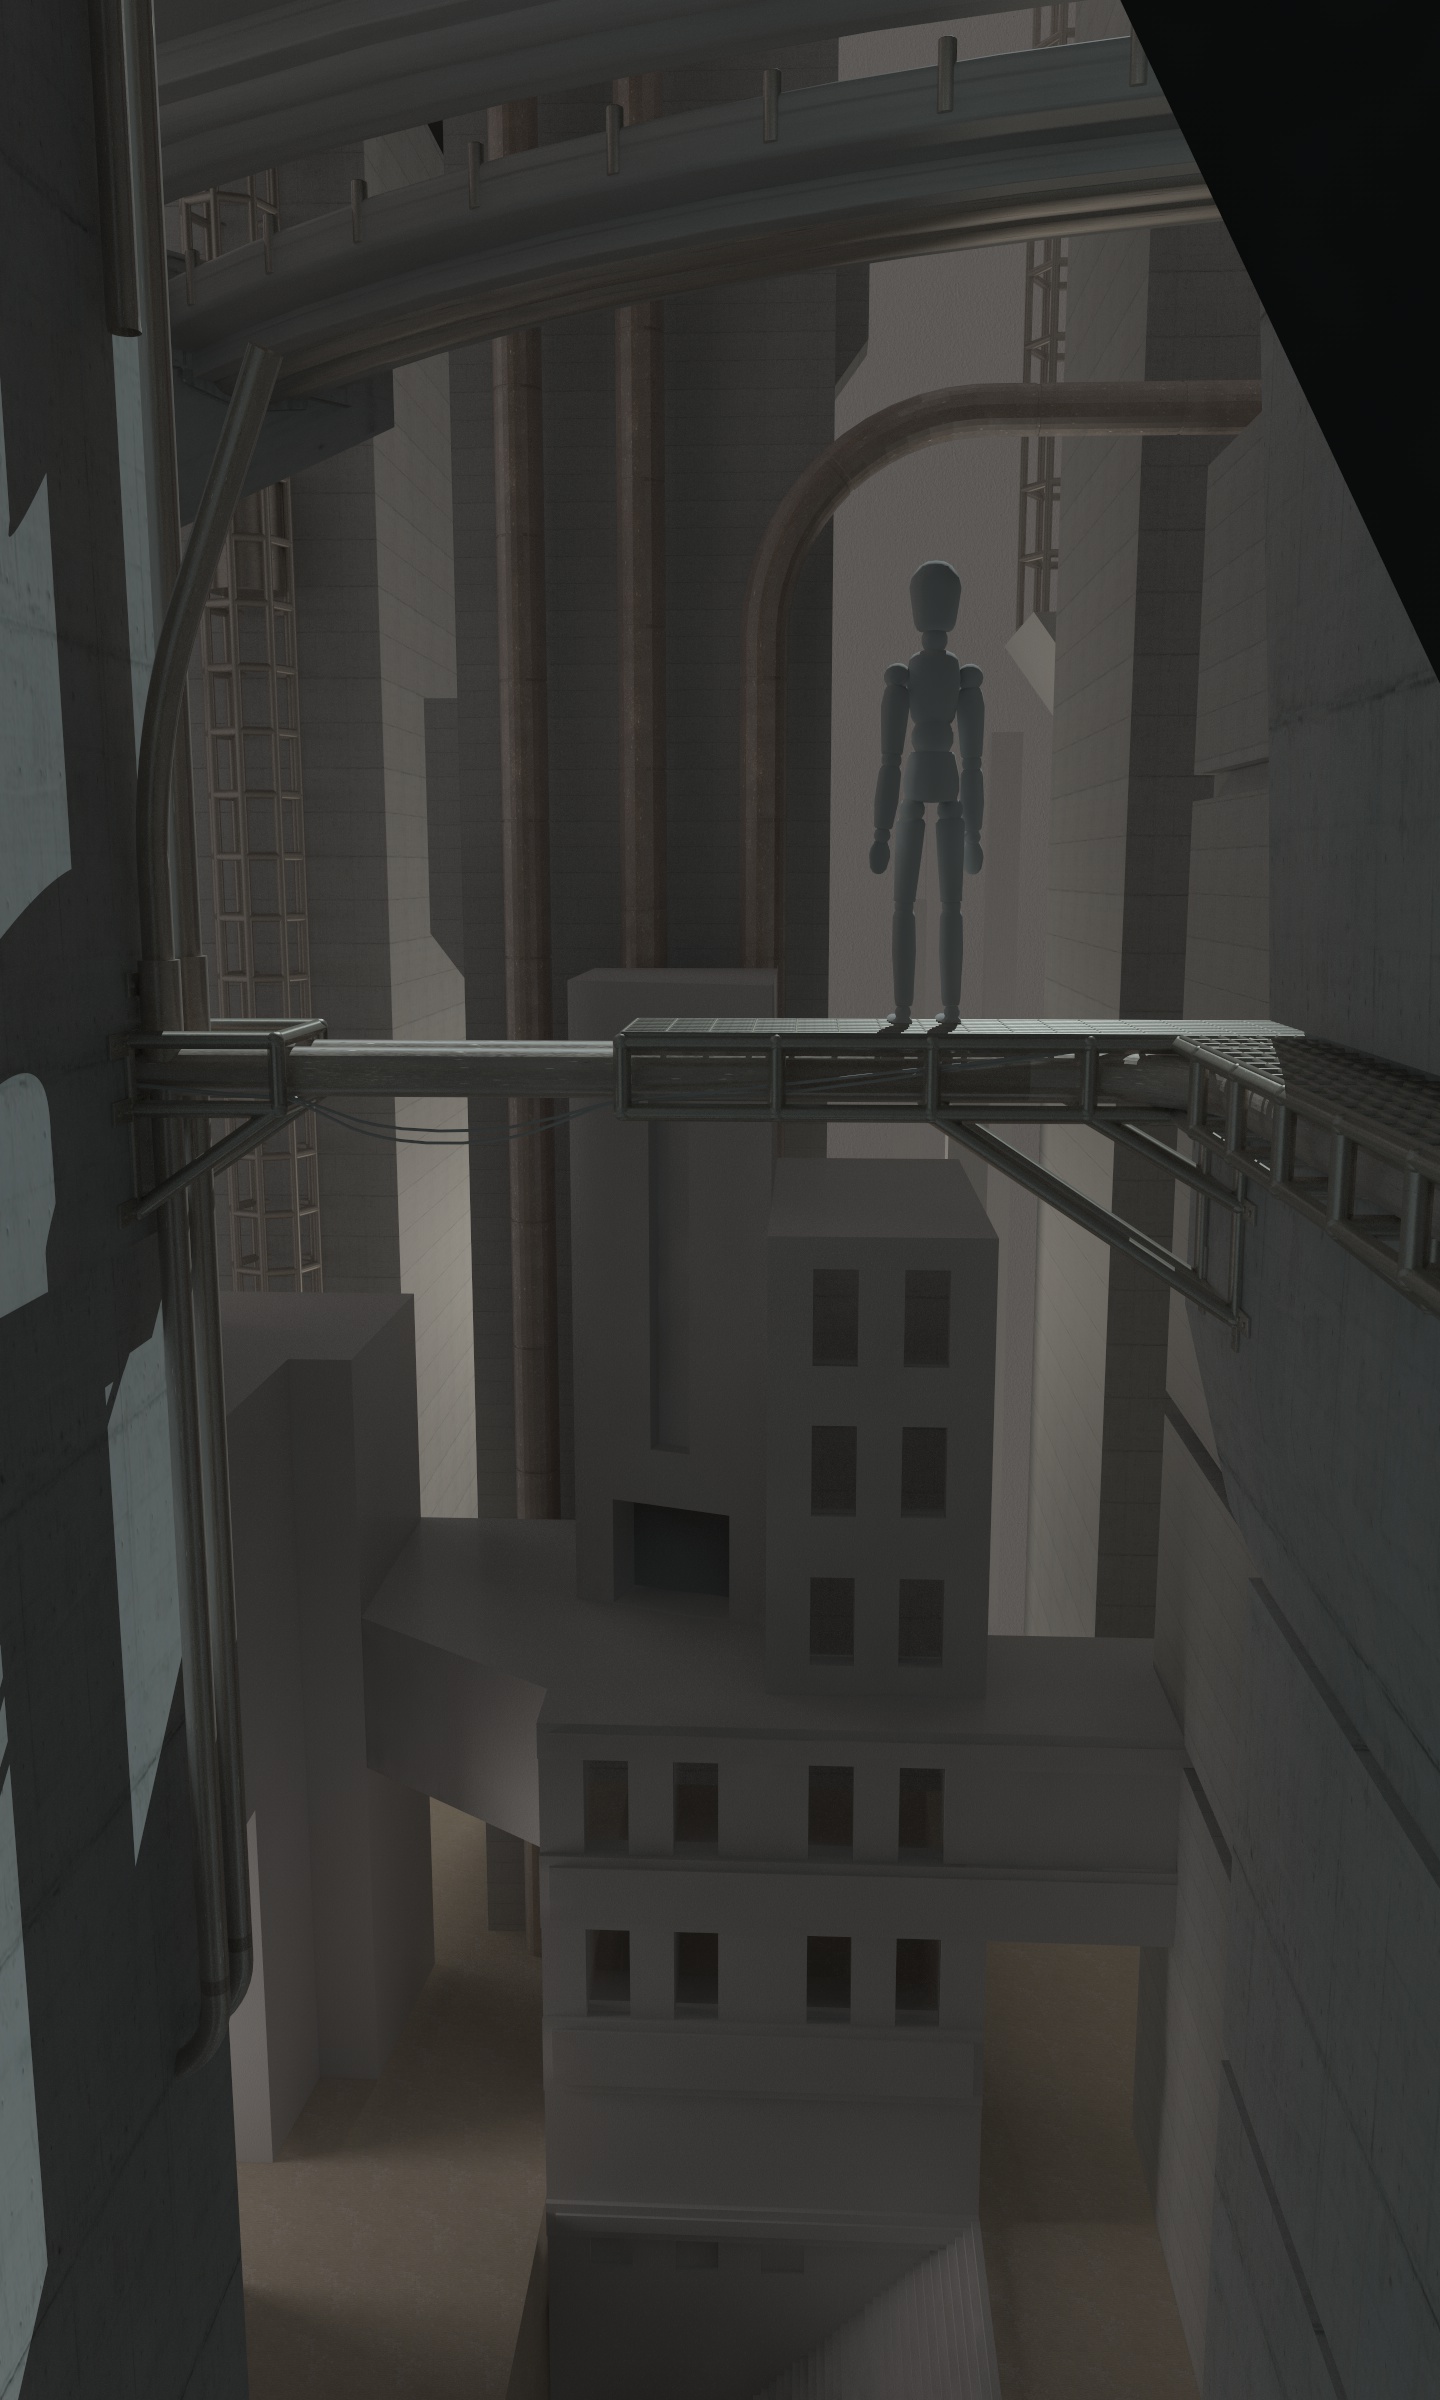
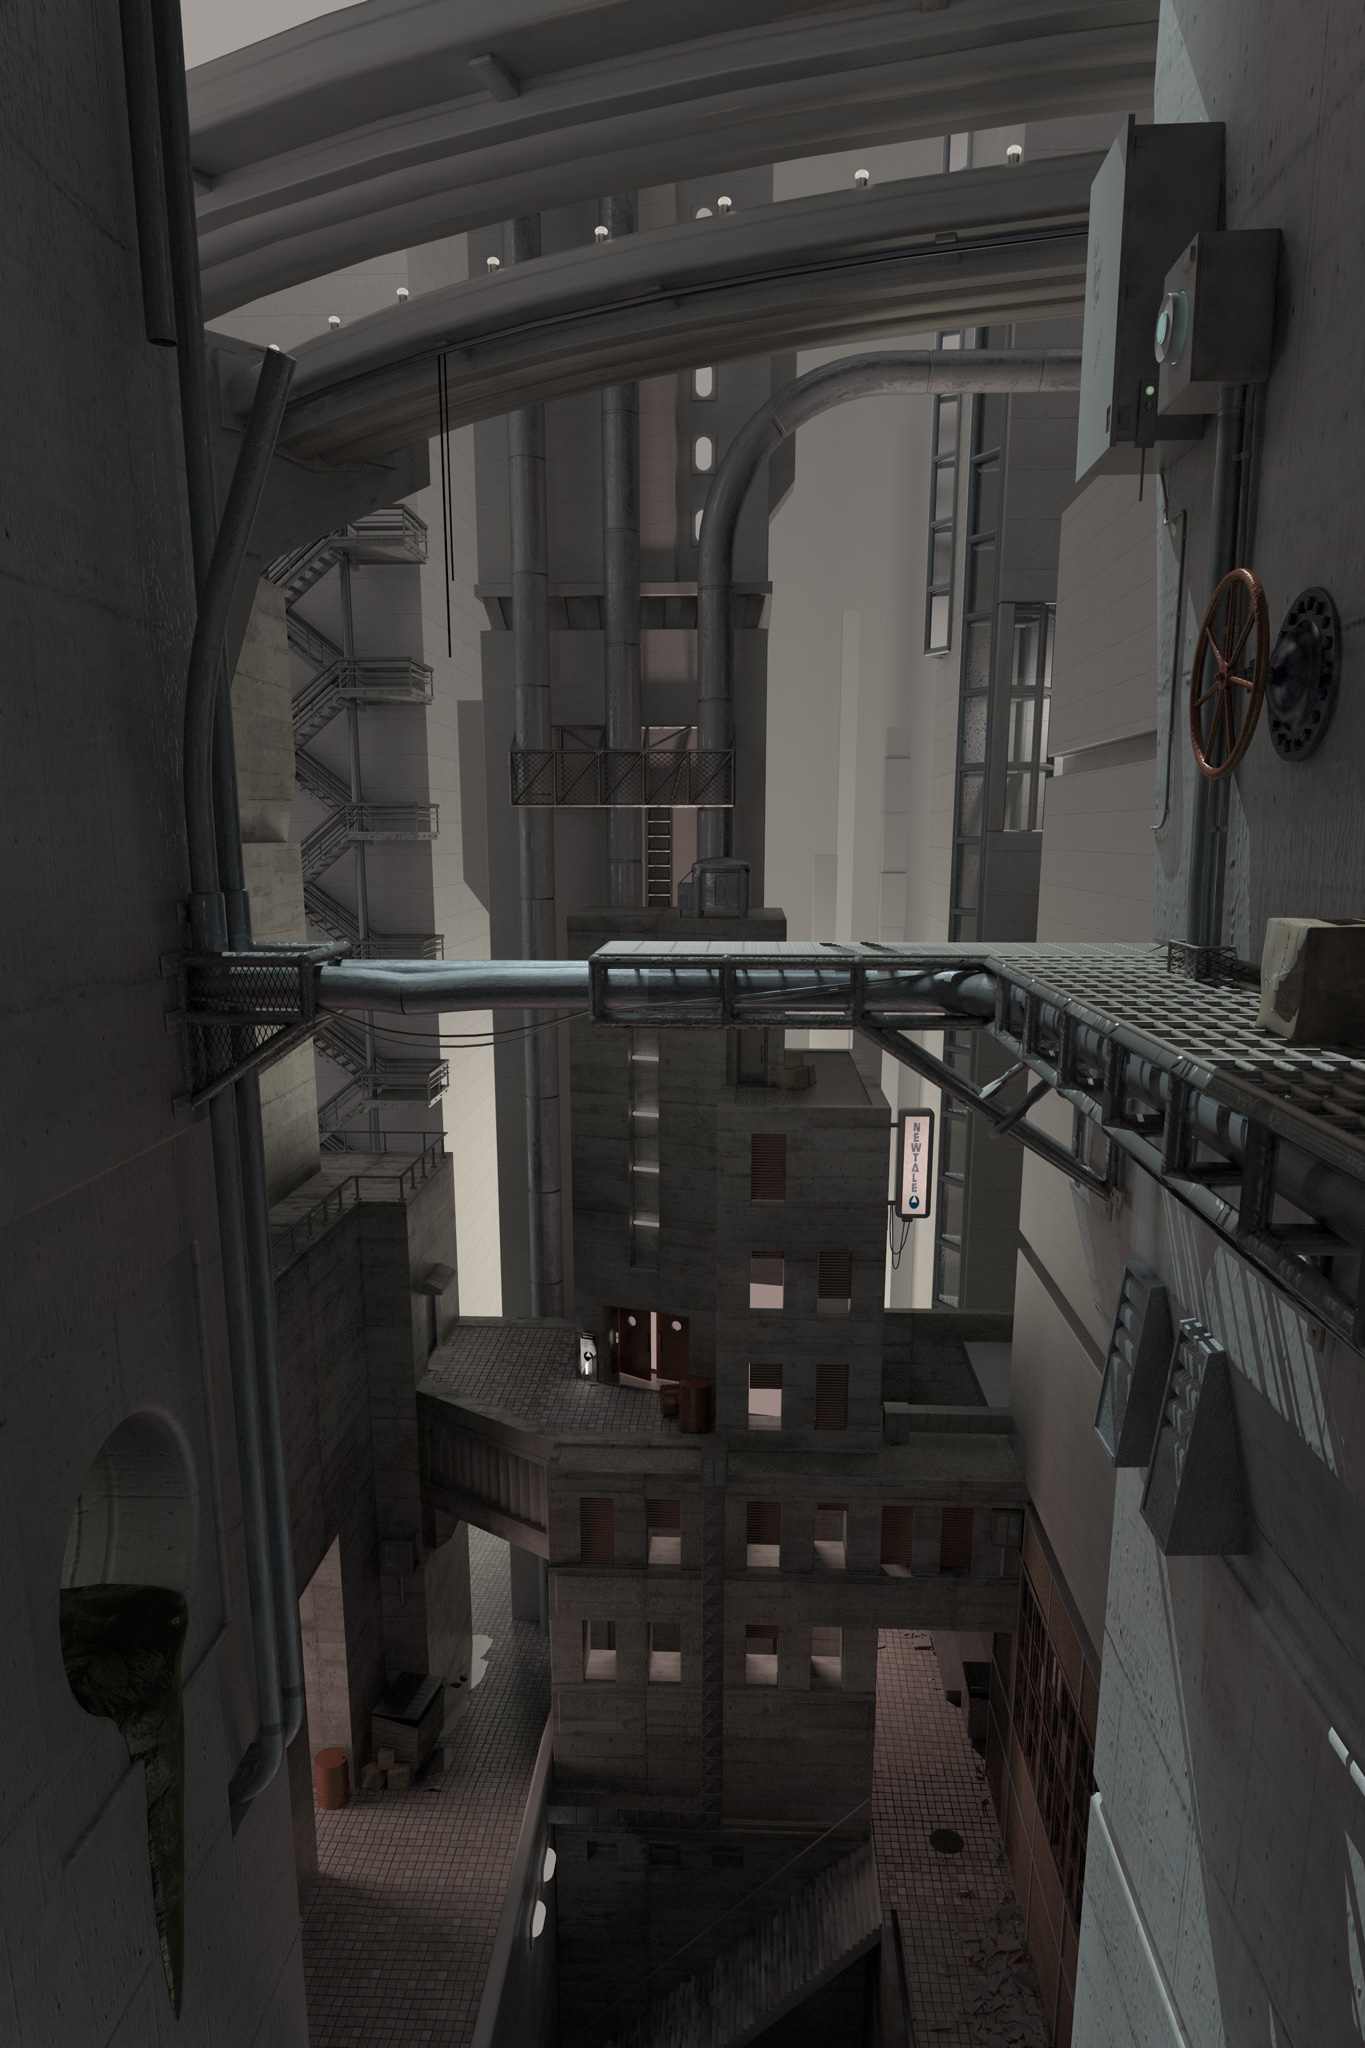

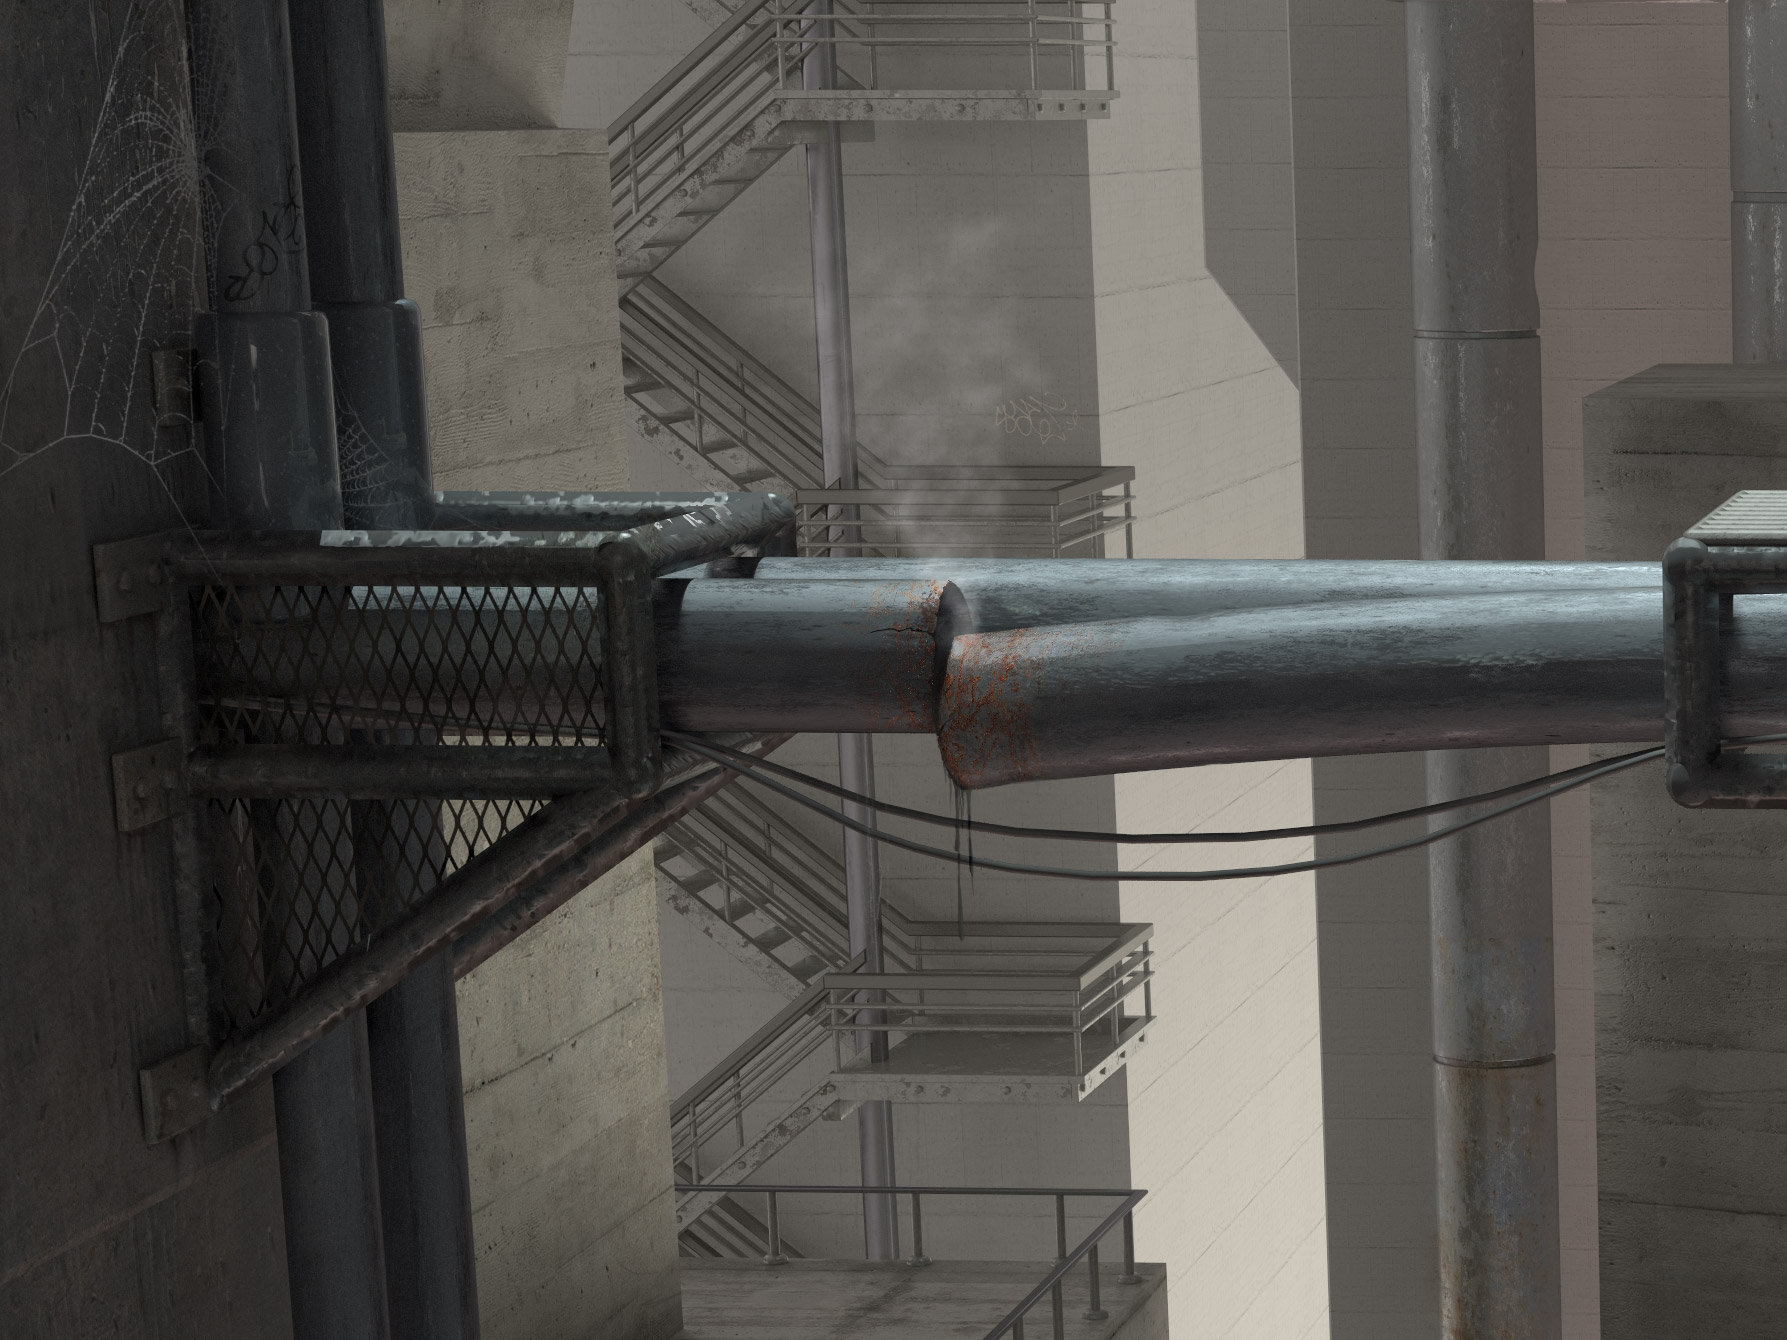
Apart from the freedom offered by modeling a scene in 3D, there are of course also some downsides. It simply takes a huge amount of time to model all the assets, refine all the textures and materials, all the while doing test renders. Being a professional 3D artist is only partially defined by how good the final image looks. But just as importantly, it’s how well the workflow is optimized to speed up the creation process. In that sense I’m really still a beginner, because it did take me on and off five months to create the scene! Oops… At least I had the common sense to stop at a certain point and switch over to Photoshop to apply all the dirt, cracks, rust, smoke and atmospheric fog. This probably saved me a couple of weeks of work.
After my 3D scene was built it was finally time to prepare for the photo shoot: The props had to be organized. Thanks to the help of an archery club in Zurich, I was able to source the perfect recurve bow, quiver and gauntlets. Luckily, my model Jasmin had already purchased a Hunger Games dress. So all that was left was to plan the technical aspects of the photoshoot.
At that time I noticed that nobody had really done a tutorial about this process – matching photography to a 3D scene. So I decided to collect my experiences and produce a little video tutorial myself. In the video I’m getting into how to extract all the needed camera attributes from the scene, what lens to choose and how to reproduce the same lighting conditions with studio lighting. There are a couple of handy tricks in there that are especially useful for people working in small photo studios. There is one trick I especially can recommend for anyone facing the problem of having to light a model from bellow. But the video doesn’t end there. We’ll also quickly look at the necessary steps in Photoshop to match the photo to the 3D background by adjusting the contrast, the colors, as well as add some final embellishments.
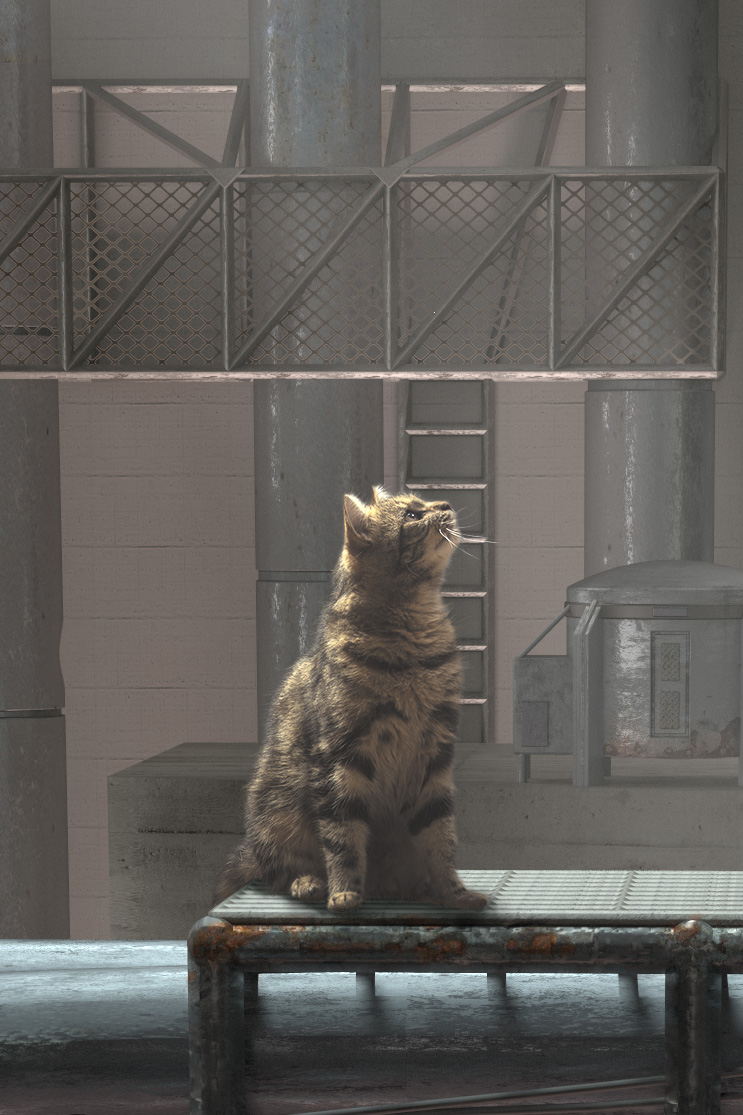
One last word about the co-star in the image: that irresistible little tabby called Smilla. This is a good example of a lucky accident that changed the whole story of the image. Originally my intention was to only show Katniss Everdeen as she peers down into the abandoned city. But in the days approaching the photo shoot, with my head totally immersed in the image and its story, I noticed our neighbors’ young cat and I knew, I wanted her in the image too. There is just such a lovely non-verbal communication going on between the two that gives the image a very interesting twist. These lucky accidents occur a lot – I try to stay open to any input all the way up to and during the shoot. Sometimes it’s an assistant that has a brilliant idea, sometimes it’s a dream I’m having the night before the shoot and sometimes it’s the model herself who falls into a pose that I’d never have thought of. As Erik Almås says: “there are no ego in this process, it’s a team effort”.
I hope you’ll enjoy my tutorial video. Let me know if you have any questions or like to see more of these videos (this was my first one). You can reach me at my Facebook page where I keep regular updates, behind the scenes and tips on my current projects.
Software used: Photoshop CC, Cinema 4D, Vray (VrayForC4D)
Equipment used: Elinchrom studio lights and modifiers, Pentax 645z + 120mm F/4 macro lens, PocketWizard III plus

—
John Flury is an award-winning conceptual photographer, retoucher and 3D artist. You can see more of his work on his website, and make sure to follow him on Facebook.
All images used with permission.